Davinci resolve
Utilizing DaVinci Resolves to create fun and fluid visuals.


Context:
This project was not for a class or a client, but for myself to practice and learn fluid visuals in DaVinci. There was no prompt for this; however, at the time, I was working on rebranding my own YouTube channel, and as part of that exploration, I made a series of animations. I wanted to showcase this project as it best explains some of the most important lessons I've learned as a designer.
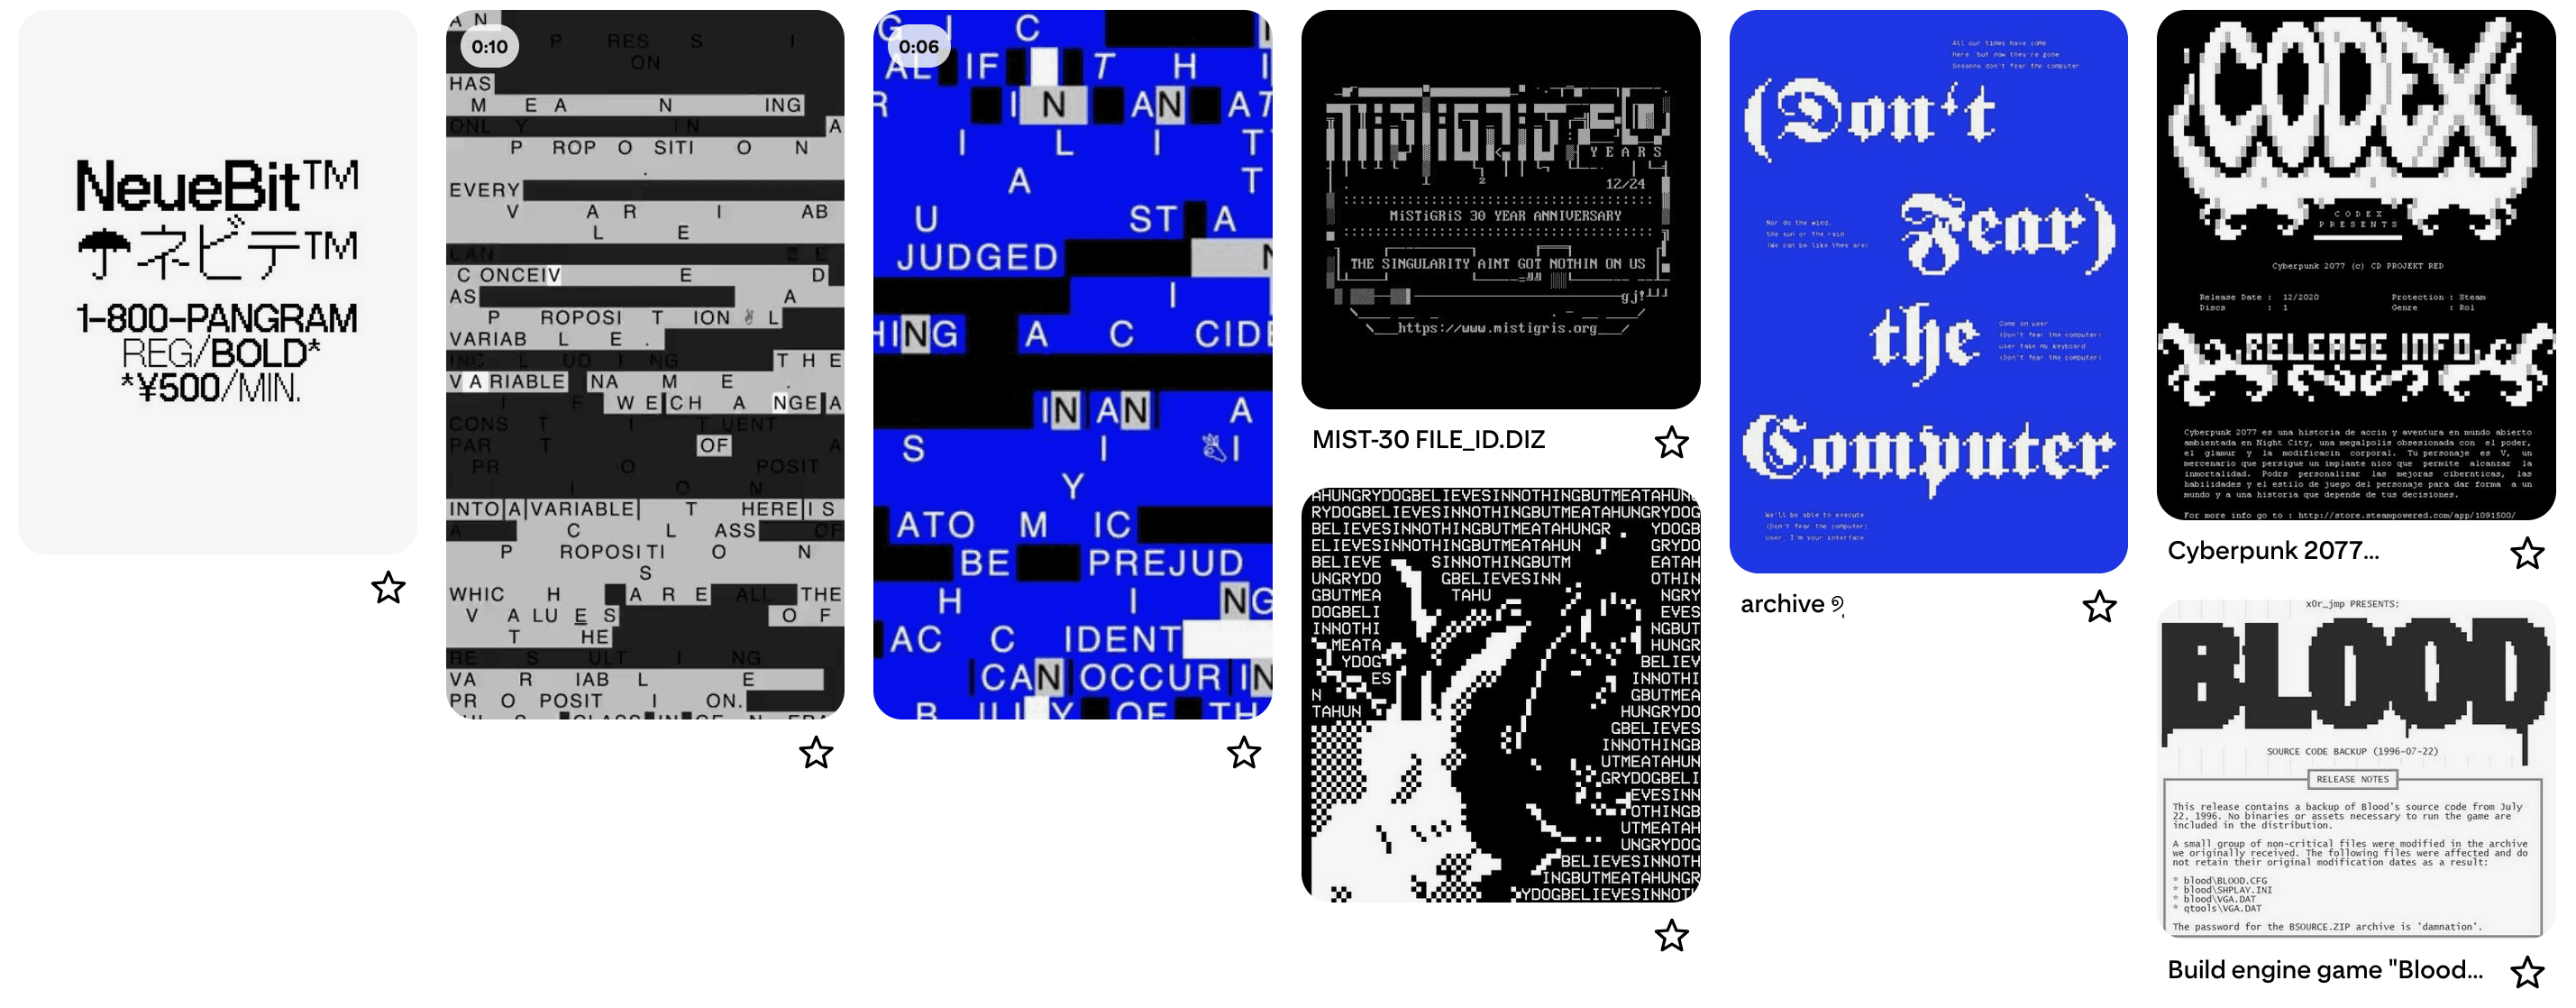
To start this project, as always, I created a moodboard. I've always been a fan of old-school ASCII art, README documents, and the variety of bonus files you often get with a cracked game or piece of software. There's a certain aesthetic that's only found in the most dated portions of the internet, held onto by long-time pirates and open-source contributors. This aesthetic is raw and communicates transparency; there is no room to hide anything in a basic text document, and as someone who prioritizes openness and community, I wanted my style to reflect this.
Outside adobe:
Adobe is often the go-to for most designers, and while rightfully so, I think it’s important we consider how we might implement software alternatives to speed up our process or even try out new styles. While InDesign and Illustrator are great for working with type in traditional ways, they certainly were not designed with ASCII in mind. Editing individual characters can (and will) adjust every other line in your document, which, when working in this style, is quite painful.
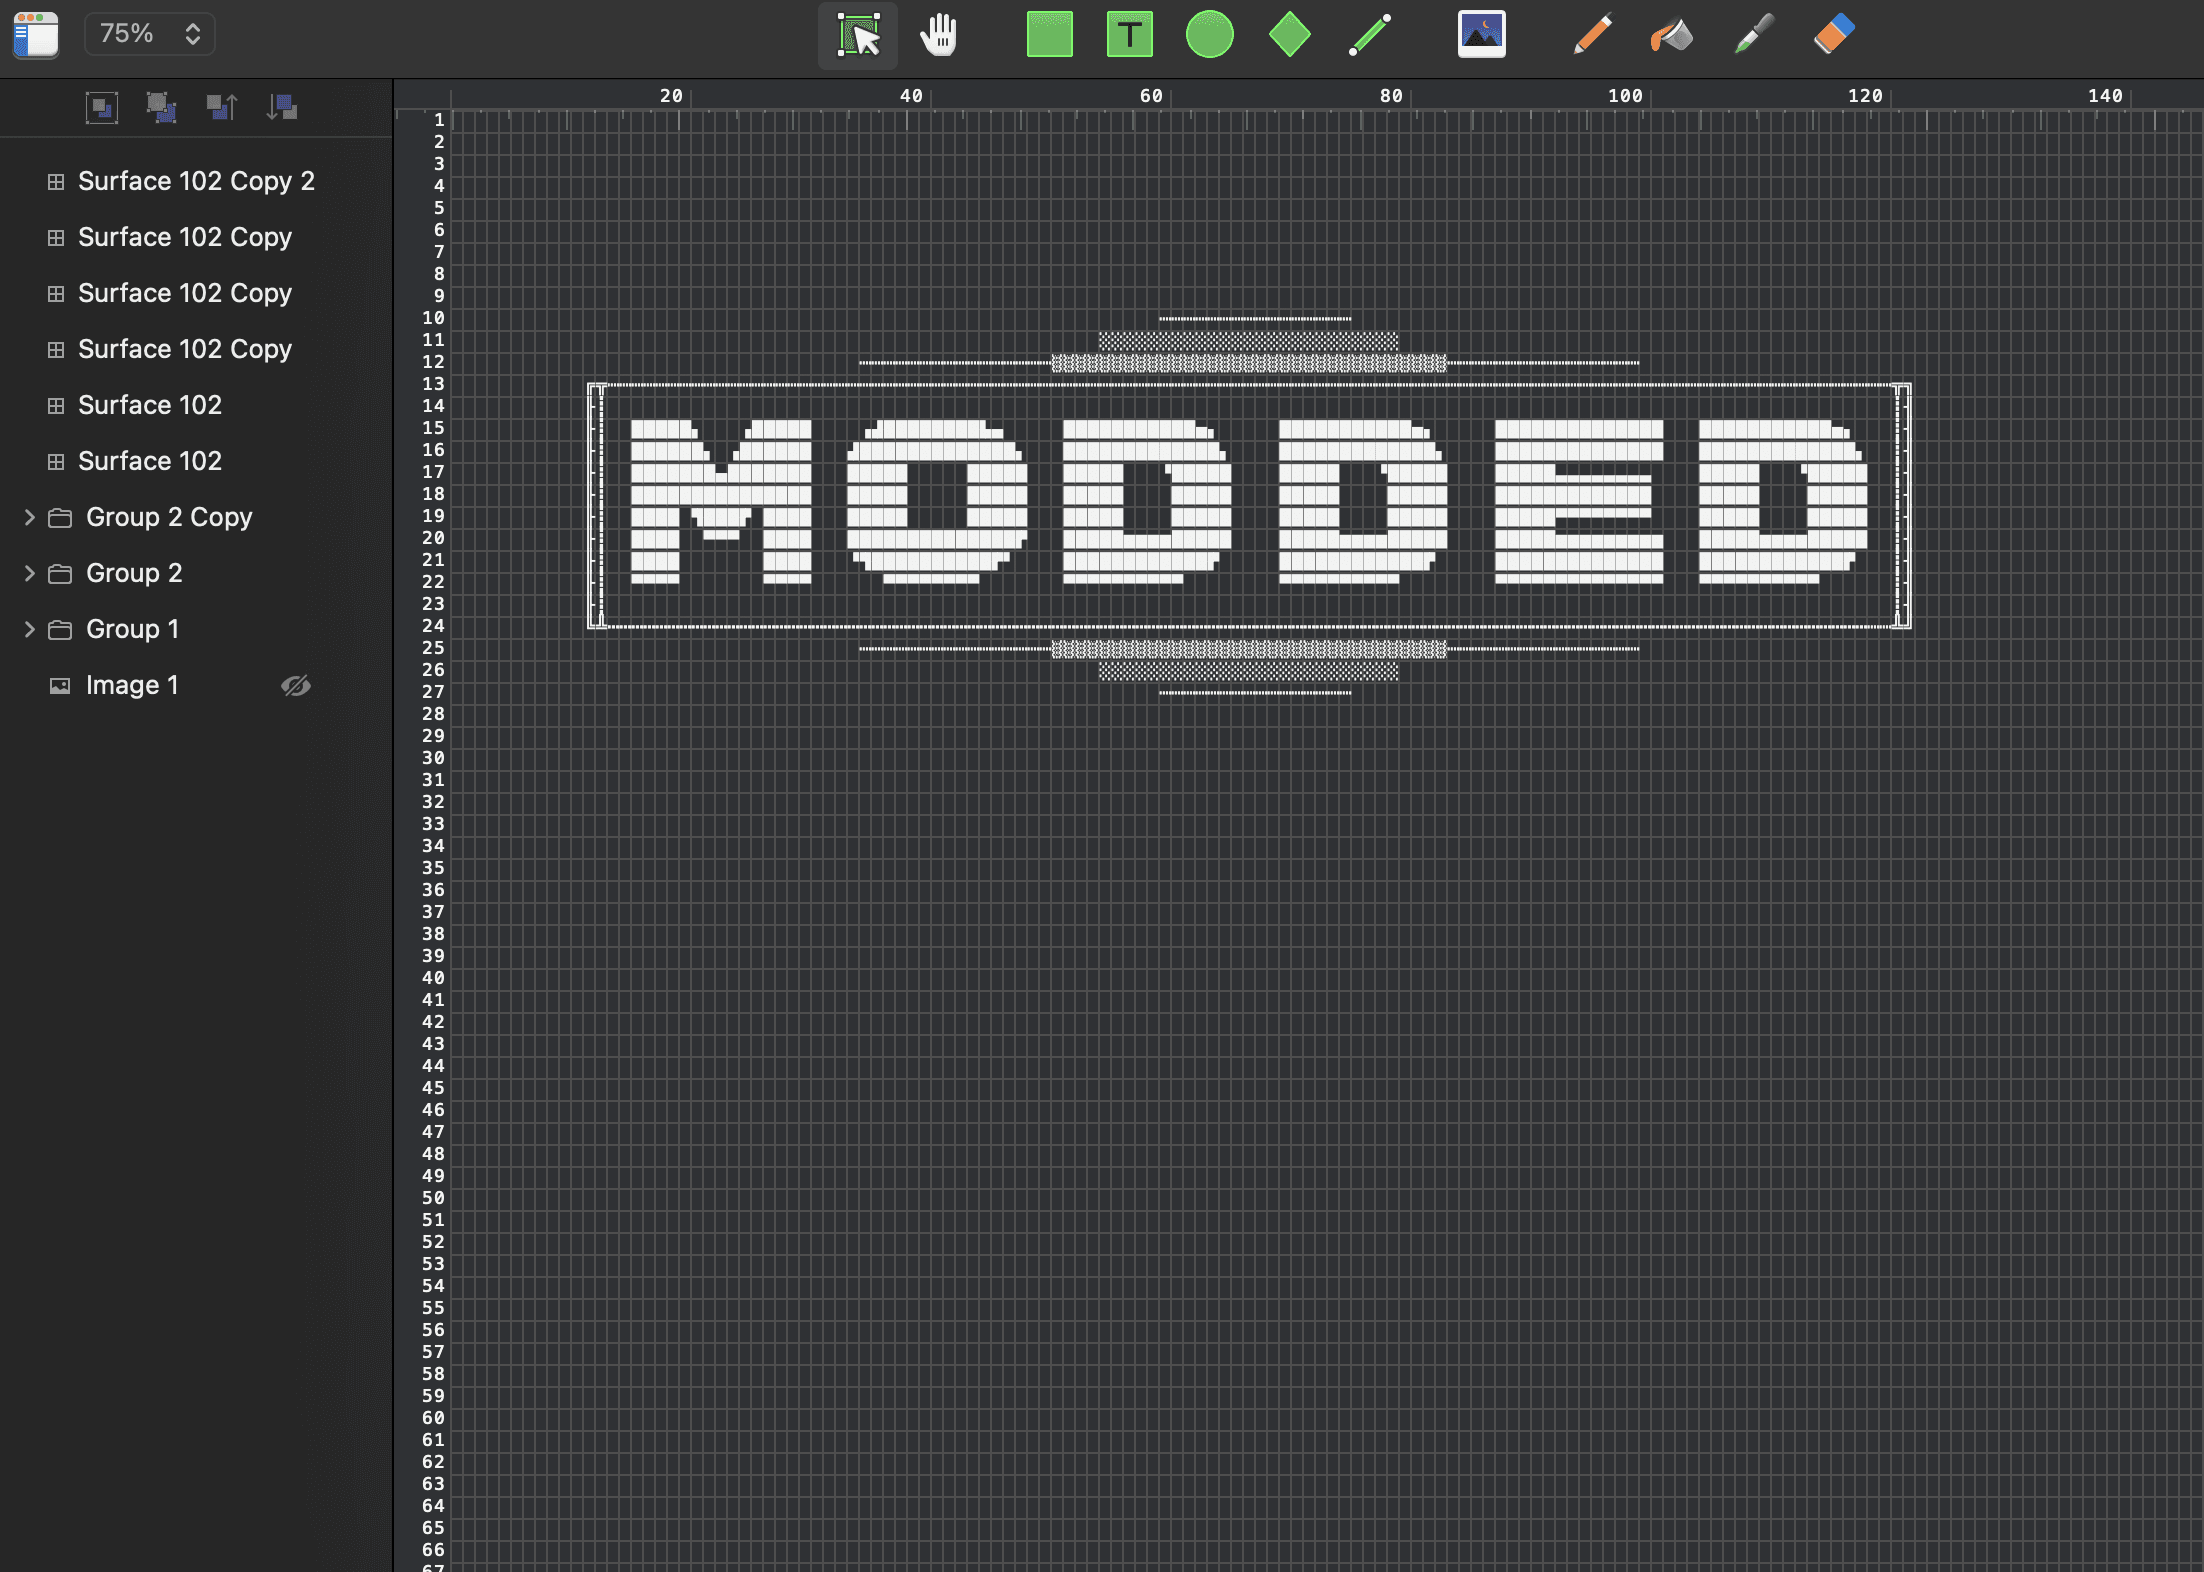
In my search for ASCII-friendly software, I found two options: a web solution called asciiflow.com, which I would highly recommend for beginners to the style, and Monodraw, a macOS app with greatly expanded functionality and export options. On the right, you can see the design I created for this animation; I then exported this to SVG and imported it to DaVinci to begin my work.
inside davinci:
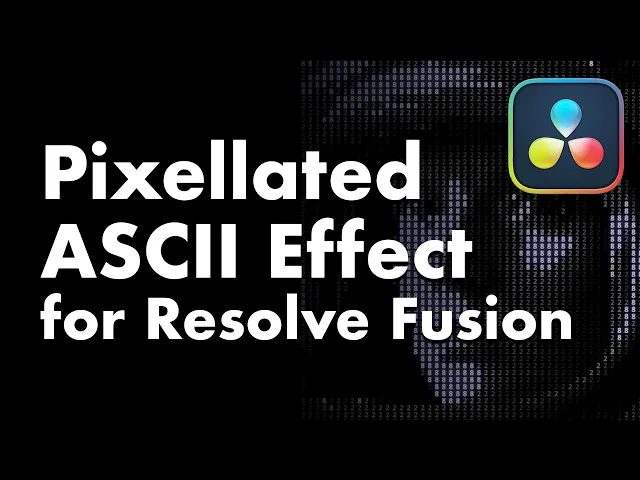
Resolve's node system can be extremely powerful, but the node trees you create can also become increasingly complex and fragile. One of the effects I wanted to do for this animation was applying an ASCII type filter to create some abstract noise using only letters and numbers. While I had initially got this working by replicating the node tree in the video linked on the right, somewhere along the line I misconnected an input/output, causing DaVinci to crash whenever I opened the file. I know now that this issue was caused by a combination of me trying to edit the video in 4K and the "resolution" of what was essentially an array of randomly generated ASCII overlaid on top of a mosaic-filtered radial lines generator. This was asking DaVinci to push far too many pixels; in the future, I would optimize this by pre-rendering the effect or increasing the mosaic size while decreasing the timeline resolution.
How did I work around this problem? By leveraging a designer's greatest resource: their community! I found numerous video-to-ASCII generators online, and after finding one that met my needs, I simply used that instead of doing it all within DaVinci. I did, however, better learn the node system—specifically how you can set any value within a node to be relative to another value in another node.
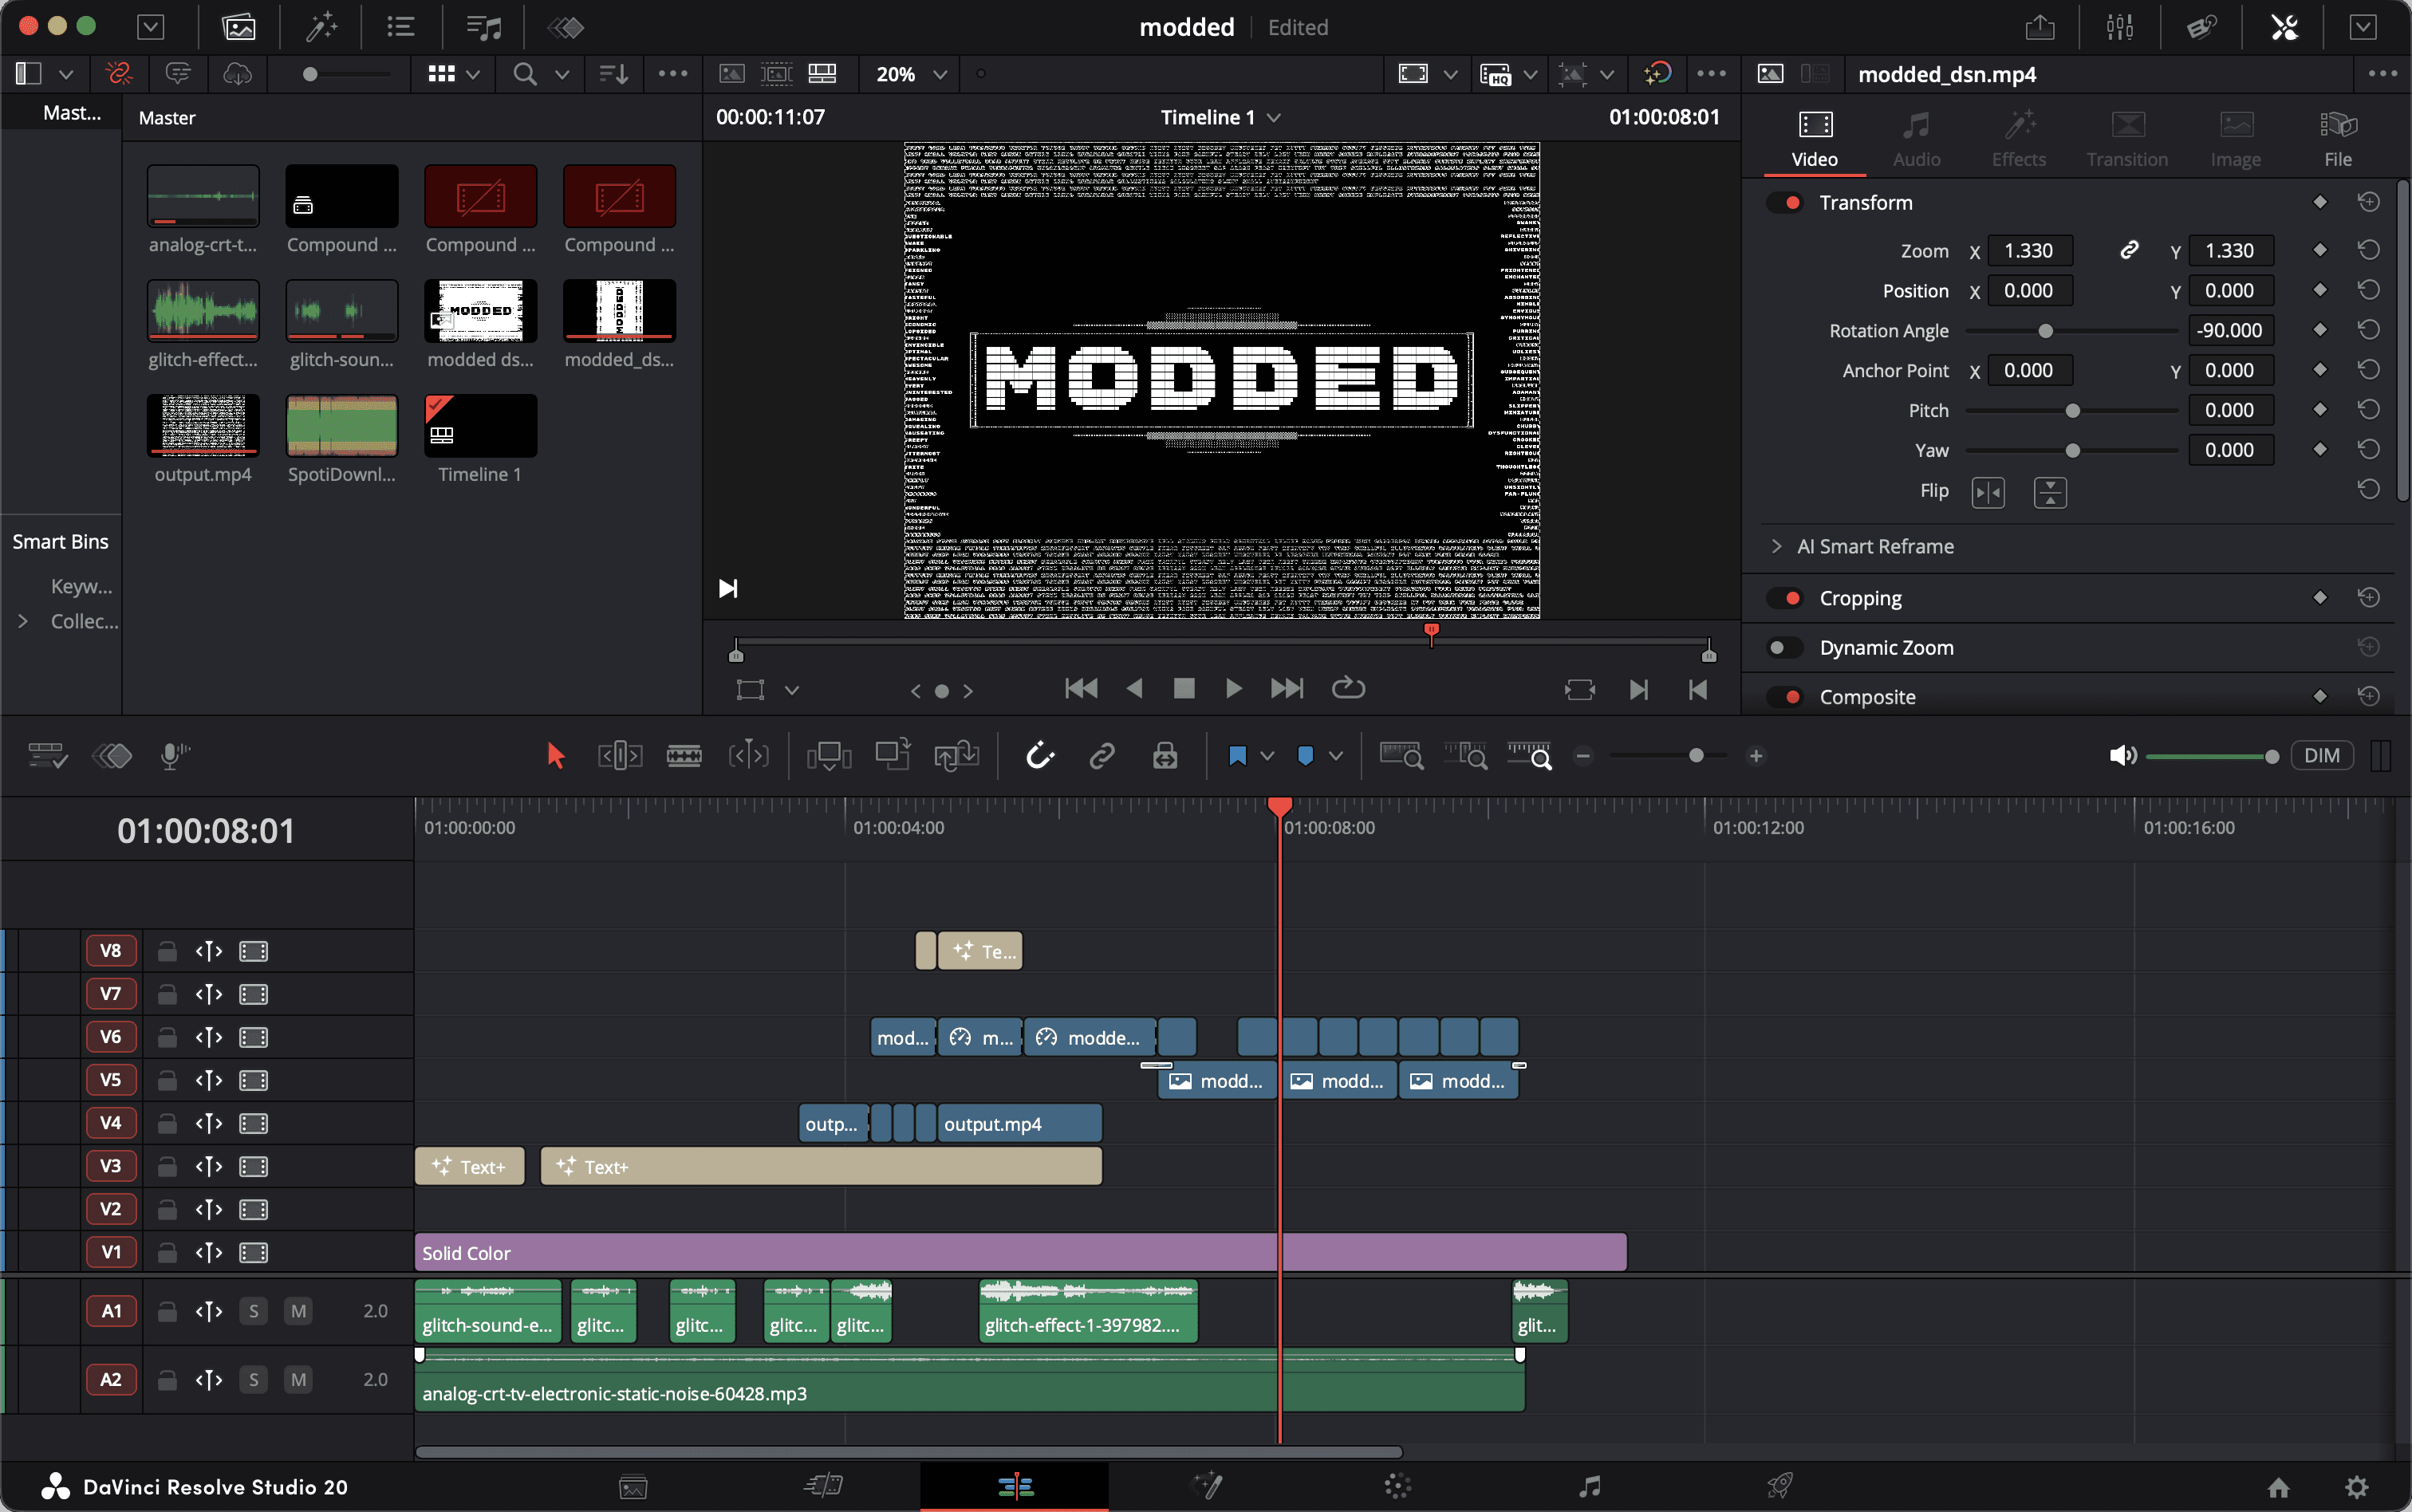
Every good motion project should have a strong structure, often a beginning, middle, and end. To start off my animation, I used the write-on effect within the Text+ title to introduce the phrase. Then, I used tracking with an ease-in-out curve to "explode" the text, creating anticipation and priming the viewer for the quick action to come. The font change was quite simple: I just selected a different font for each frame with the intention of placing my fonts in a way that made the word squash and squish. Then, I used the composite function to place the ASCII effect I created above over top of the text, once again priming it for the next sequence. The text creeping in through the corners was done in Procreate, as I found that it was easier to simply use a white background and paint out each word frame by frame, then reverse it afterward.
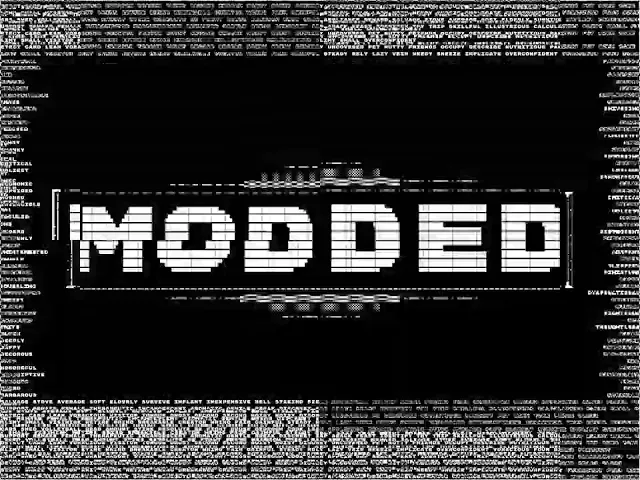
Once the creeping text is halfway through, I reverse the write-on to make way for the ASCII effect in full view right before the full ASCII wordmark makes its appearance, for which I used the basic block-glitch transition. I could have also tried something with the JPEG damage node in Resolve, but for the short time this effect was on-screen, I didn't think it was necessary.
What did i learn?
As mentioned before, I chose to display this project because I think it showcases some important lessons. Firstly, always leverage other tools. Designers are a creative bunch, and I'm continually surprised at how many free online tools are available. Secondly, never become too attached to a software; sometimes alternatives are quicker or allow for a designer's creativity to be explored uninhibited.
Anyway, thank you for reading about my exploration! You can find the full animation below, and while you’re at it, feel free to check out my other motion work!